Spin Like a Pro at Ruff Ride
Spin Like a Pro at Ruff Ride
10 Simple Tips to Spin Like A Pro at Ruff Ride!
There is no need to feel like a “kid on the first day of school” when you show up to Ruff Ride – whether you spin for 5 minutes or for 5 hours, here are 10 simple tips to ensure you’re dominating the TF leaderboard in no time…
1. ADJUST YOUR SADDLE HEIGHT
Saddle height is a lot more important than you might think. Not only is it the key to your comfort throughout the session, but it also directly affects how effectively you can drive your heel.
HOW TO: Stand alongside your BPM bike and bring the saddle up until it’s parallel with your hip bone. Once you’re on the bike and in the right riding position (knee over the ball of your foot with the pedal at 3 o’clock; knee slightly bent with the pedal at 6 o’clock), you’ll maximize your energy output.
2. CHECK YOUR SEAT POSITION
When deciding on a bike saddle (what you will hear Shoshana and her crew calling the seat) position, you can adjust backwards or forwards depending on your height. The goal is to have your knees properly aligned, relative to your feet.
HOW TO: Sit on the saddle with your hands on the handlebars, and the balls of your feet over the center of the pedals. Take a look at your forward leg and imagine a line going from your knee. Is your kneecap directly above the center of the pedal? If the answer is yes, your seat is good to go!
3. FINE-TUNE YOUR HANDLEBARS
You’ll need to alter the height and position of the handlebars, just like the aforementioned items every time you swap out teammates/riders.
HOW TO: The perfect handlebar setup is comfortable and limits unnecessary strain on your neck and back, while encouraging an effective, powerful riding position. Keeping the handlebars at the same height as the saddle is the most effective position in terms of power output.
If you suffer from back problems or are recovering from an injury, you may want to keep the handlebars slightly higher to avoid aggravating any lingering weaknesses.
4. GET YOUR FEET IN POSITION
Now that the bike’s ready, it’s time to make sure you’re body is in the perfect position, starting with your feet.
HOW TO: For bikes with toe cages and straps, align the ball of your foot over the center of the pedal. This is the firmest, widest-striking surface on your foot, making this the most efficient and comfortable foot position. If you plan on wearing cycling shoes and using clipless pedals (BPM bikes offer both), check the cleat tension on the pedals and make sure that your cleats are aligned properly on your shoes.
5. FIND THE PERFECT PEDAL STROKE
Did you know that there was an easy trick to getting the perfect pedal stroke? Here’s the secret:
- Imagine the movement as a clock face.
- Phase one takes place from 12 o’clock to 5 o’clock. Here you are pushing down, using your hamstrings to extend your foot downwards. Allow your heel to drop as you go past 12 o’clock.
- From 5 o’clock to 7 o’clock, you prepare to pull back up. Engage your calf muscles, and slightly point your toe downwards, as though scraping mud off your shoe.
- From 7 o’clock to 9 o’clock, your other leg is on the downstroke. Letting the pulling leg go limp means it needs to work harder – so, think about keeping it moving – don’t switch all your focus to the pushing leg.
- From 9 o’clock, through to 12 o’clock, you’re pulling up – imagine pulling your knee towards the handlebars, as you complete the full circle.
6. ADJUST THE RESISTANCE KNOB
You’ll be in control of the resistance on your team’s assigned bike. Using too much resistance will feel like riding through concrete, so make sure to strike the right balance.
HOW TO: If you feel like every pedal stroke is a conscious effort that travels into your ankles and your lower back, then back off the resistance dial. At the other end of the scale, if your spinning is super quick and feels almost out of control, you’ll find your lower back wiggling as you pedal, and your butt is shifting in the saddle. This will do you no good, and can result in some real saddle discomfort, so add a bit of resistance and you could actually add comfort, in the end.
7. BREATHE
You’re pedaling as hard as you can, the music is pumping, the air around you is hot and sweaty… but you do still need to breathe! Spinning can be a bit of an explosion to the senses, but don’t get so carried away with the experience that you forget the basics of, you know, survival.
HOW TO: Your muscles need oxygen to work, so take deep breaths!
8. CONTROL YOUR RIDE
Riding at Ruff Ride isn’t supposed to be a punishment—it’s meant to be an enjoyable and even fun experience.
HOW TO: When you need to catch a breath, slow it down and jump back in when you’re ready. Just try your best and have fun. It’s okay if you need to take a second for yourself to navigate what’s going on—do what you need to do for you.
7. STOP OVERTHINKING IT
Instead of getting in your own head and psyching yourself out ahead of time, just give it a try.
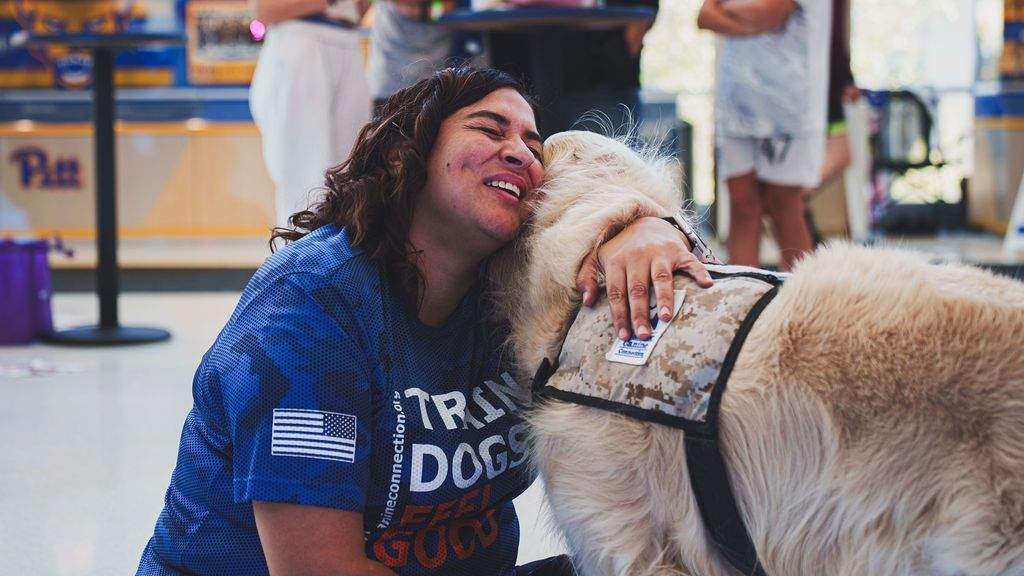
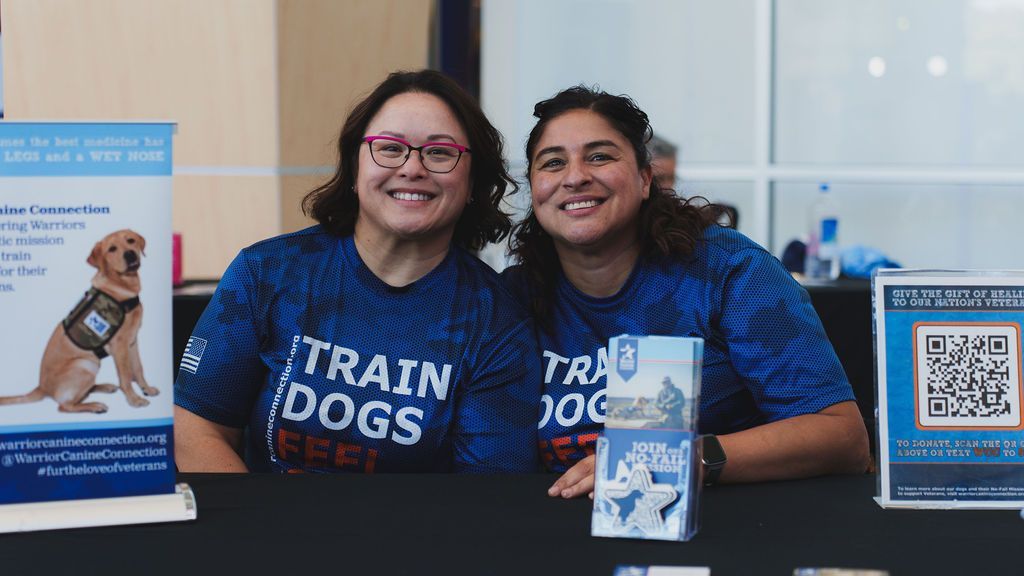
HOW TO: Keep the end goal in mind. Worry less about the ‘right’ outfit, water bottle, etc. This event is bigger than that! Get on the bike, clip in, and celebrate your ability to raise money for service dogs and Veterans. We want you to participate any way you can!
10. HAVE FUN
There’s no reason to feel nervous before Ruff Ride. The music will be pumping, the instructors will make sure you get through their classes, and there will be loads of other people to motivate you – not to mention the 24 hours of straight party that will surround you!
So,
get signed up and enjoy!
Decided spinning isn’t for you? Check out ways you can
donate,
volunteer, or
sponsor!